How to Photograph Tree Damage for Your Insurance Claim

By Tree Emergency Expert
Tree Emergency Expert

Good photos are the backbone of a tree damage claim. Here is exactly what to capture, the angles that matter, and the mistakes that leave adjusters guessing.
Why Photos Decide Tree Damage Claims
An adjuster who never saw the storm relies almost entirely on your photos. Good images tell the whole story, what fell, what it hit, and how bad the damage really is. Weak or missing photos force the adjuster to guess, and guesses rarely favor the homeowner. Coverage varies by policy, but strong visual evidence consistently strengthens your position. Here is how to capture it correctly the first time, because in most cases there is no second chance once cleanup begins.
Shoot Before You Touch Anything
The golden rule: photograph everything before any cleanup. Once the tree is cut and hauled, the proof of what happened is gone for good. If the property is safe, capture the scene as the storm left it, tree in place, debris where it fell, and impact points untouched. Only after documenting should you begin temporary mitigation like tarping or boarding. This before-cleanup discipline is the core of a solid emergency tree documentation routine.
Work From Wide to Close
Capture three layers of detail for every area of damage:
Wide shots that show the whole scene and how the tree relates to the structure
Medium shots that frame a single damaged area, one wall, one section of roof
Close-ups that show cracks, punctures, splintering, and torn materials in detail
The wide shots establish context; the close-ups prove severity. Adjusters need both to understand the scope without standing in your yard.
Do Not Forget the Interior
Exterior damage gets all the attention, but interior damage is easy to overlook and just as important. Photograph water stains on ceilings, cracked drywall, damaged flooring, and any personal property affected. If the tree breached the roof, shoot the opening from inside and out so the path of damage is clear. Rain that enters through a breach can cause more loss than the tree itself, and only your photos connect the two.
Capture Details That Prove the Cause
Help the adjuster tie the damage to a covered event. Photograph the root ball, the break point on the trunk, and any snapped limbs. Include something that shows scale, a person or a common object, next to large debris. If you can safely show downed lines nearby (never touch them), note that too. These details answer the quiet question behind every claim: did this really happen the way you say it did?
Share this article:
Need help with this right now?
We respond 24/7. Call (866) 320-7003 or start with the page that matches your situation.
Related Articles
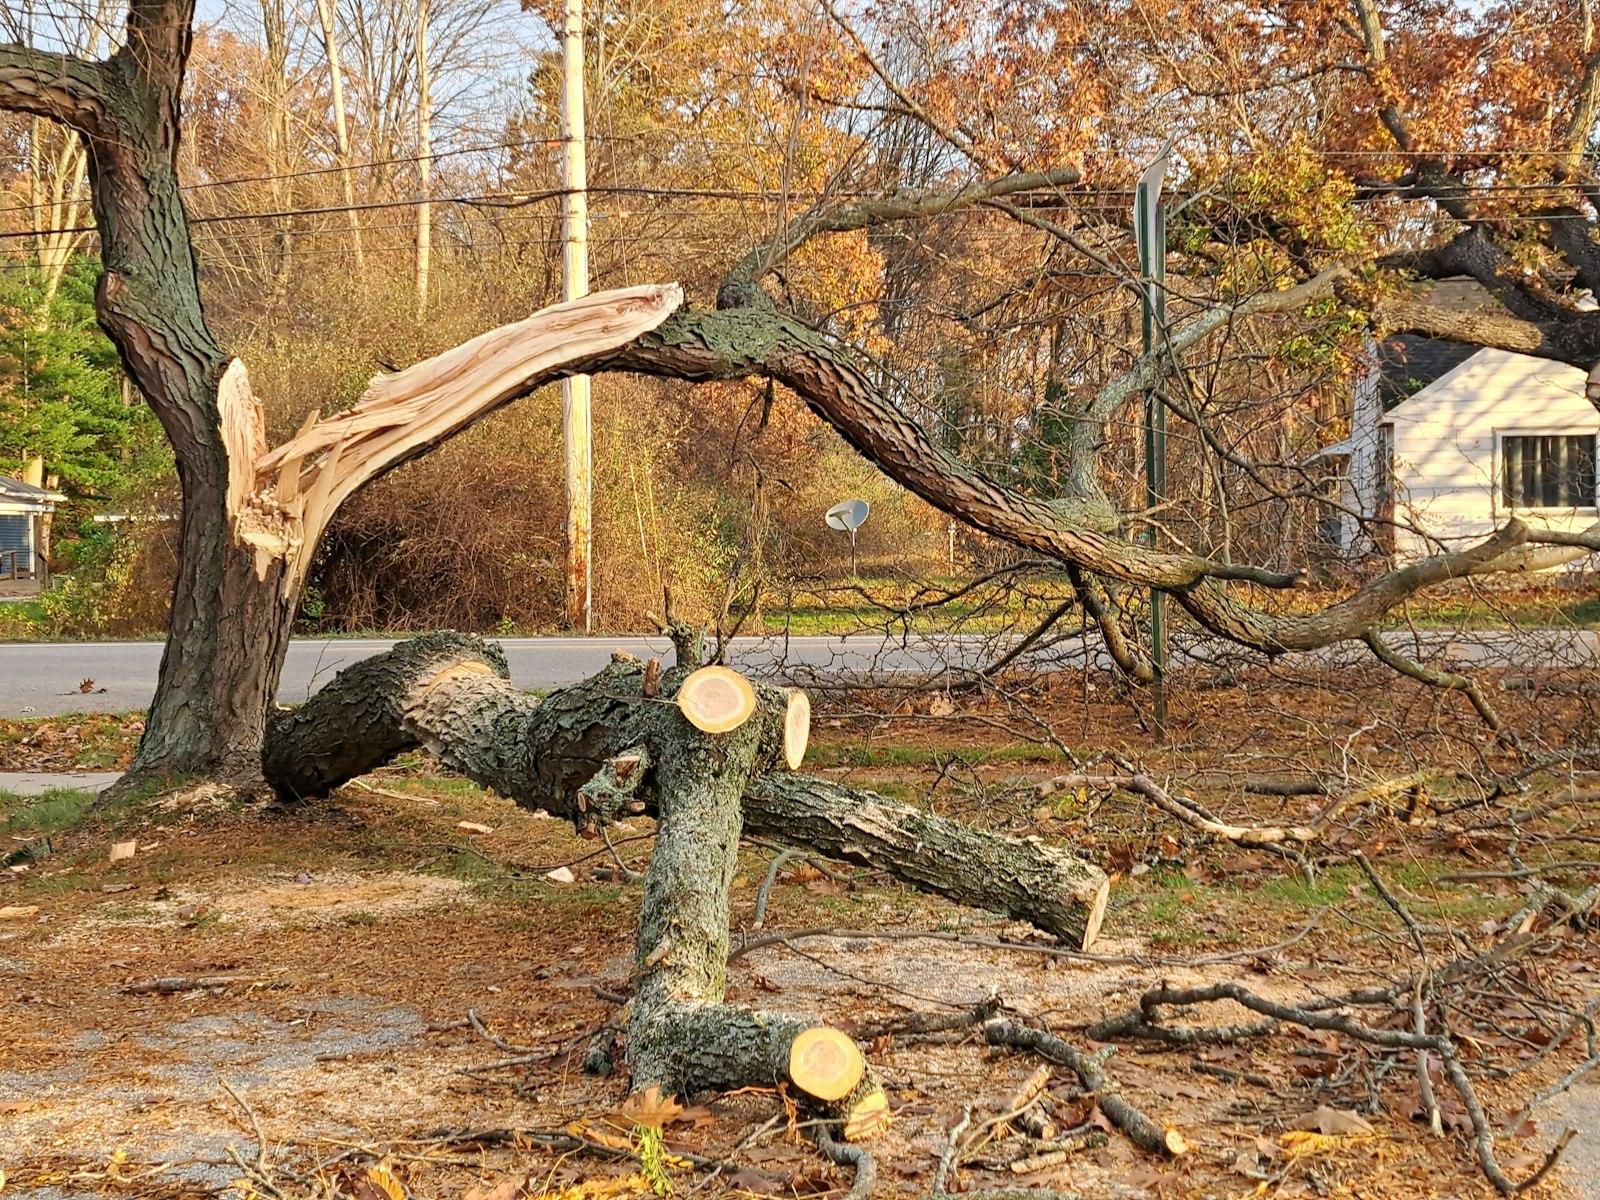
Tornado Tree Damage: What Homeowners Should Know
Tornadoes can uproot and snap trees in seconds and leave hidden hazards behind. Here is how to stay safe and respond after the storm passes.
Summer Thunderstorm and Derecho Tree Damage
Summer thunderstorms and fast-moving derechos can topple healthy trees in minutes. Here is how to stay safe, spot hazards, and respond after the storm.
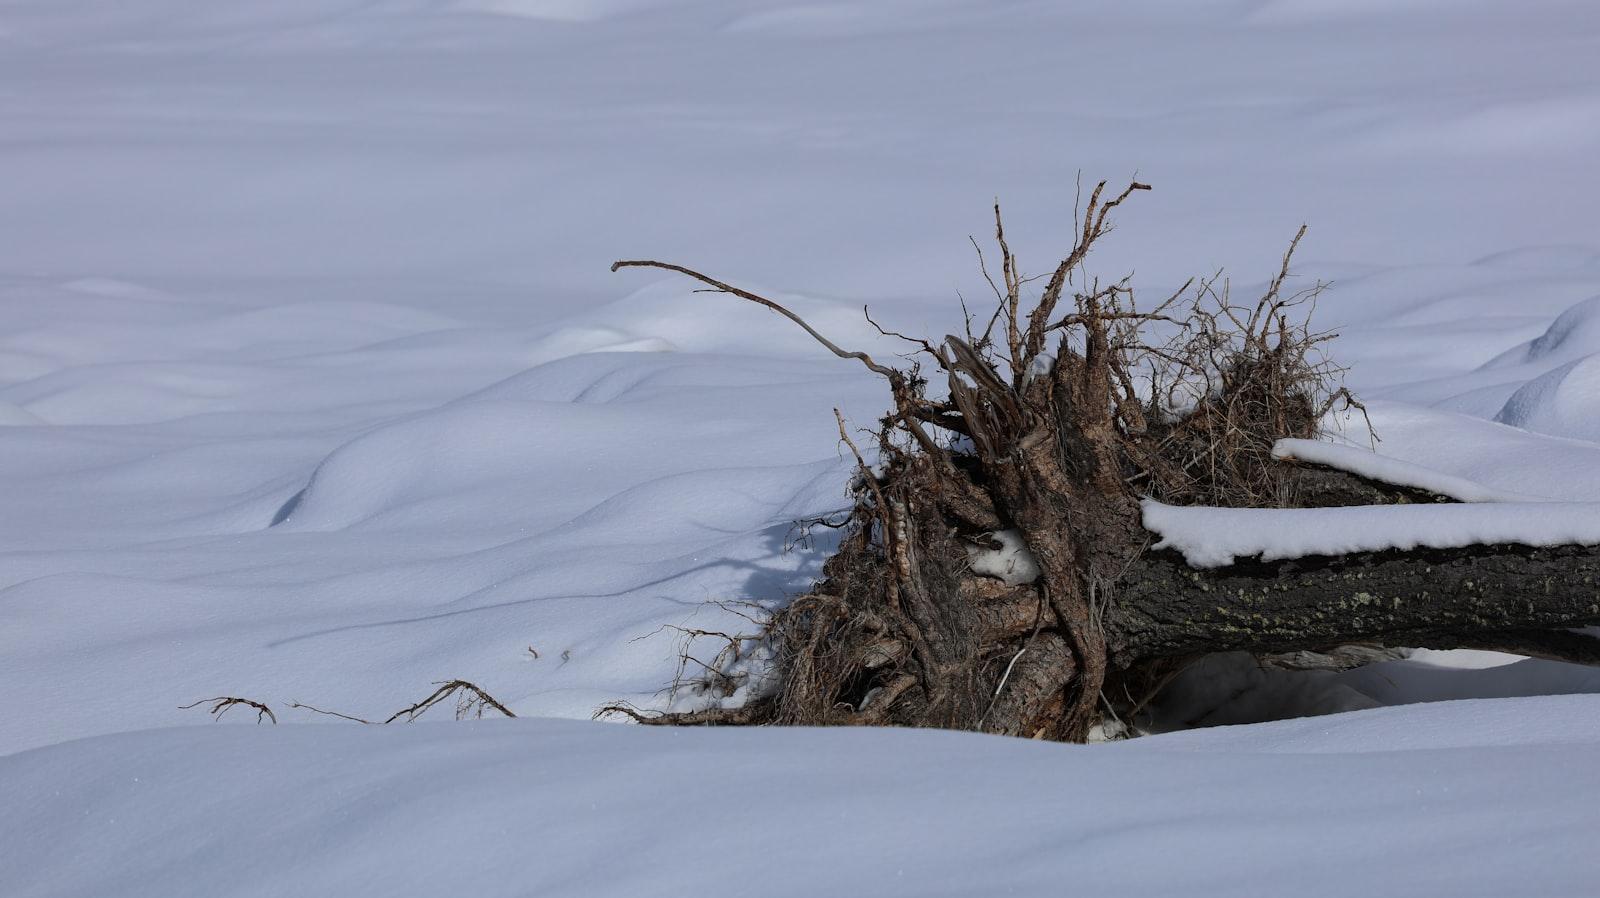
Root Damage and Why Trees Uproot in Storms
Need Emergency Tree Service?
Our team of certified arborists is available 24/7 to handle any tree emergency.